
As the season approaches to get serious about weed killing, it is time to check on your spraying equipment to see if it’s up to scratch. There is nothing more frustrating than conditions finally being perfect to get out and kill some weeds and your sprayer lets you down.
So how can you keep your sprayer in tip-top condition and ensure it’s ready for weed killing action? Follow our 10 steps below:
- Check the tank for cracks or leaks.
 Test the sprayer by spraying some clean water through it before using any chemicals.
- Check the spray trigger works properly and stops spraying when released.
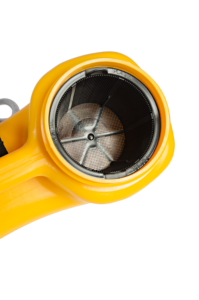
- Remove and clean all the filters (main sieve in filler neck, filter in handle of trigger set, filter in spray tip).
- Clean out the backpack tank; chemical sediment can build up in the hose, pump and spray tip. Use warm soapy water to wash the components and flush the system.
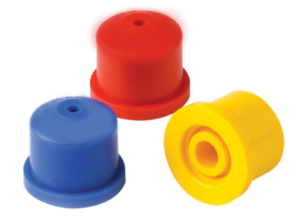
- Use an old toothbrush or similar to clean the spray tip, do not use a pin or anything made of metal as it will damage the spray tip.
- Visually inspect all seals to make sure they are in good order. Replace any that are showing signs of wear or cracking.
- Check the pressure release valve opens and closes.
- Check all hose connections are tight and hoses are in good condition. Replace any that have perished.
- Check shoulder straps are well secured to the sprayer and are in good condition.
Need some spares, new parts or service kits for your backpack or handheld sprayer? Click here. Or, call us on 01273 400092.
Up next, troubleshooting for sprayer issues. You’ve carried out all the checks above, filled your sprayer with some clean water but when it comes to blitz those weeds, your sprayer still isn’t working.